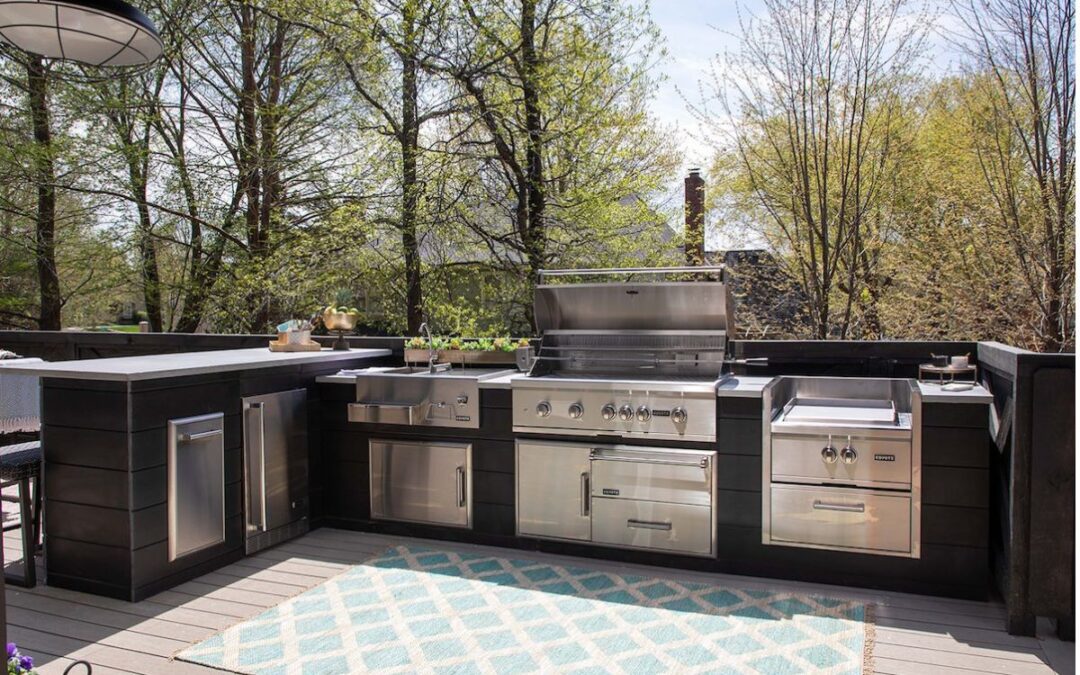
Most people tackling an outdoor kitchen build may gravitate toward using wood as a framing material. But there are disadvantages to using wood such as it being combustible and vulnerable to termites.
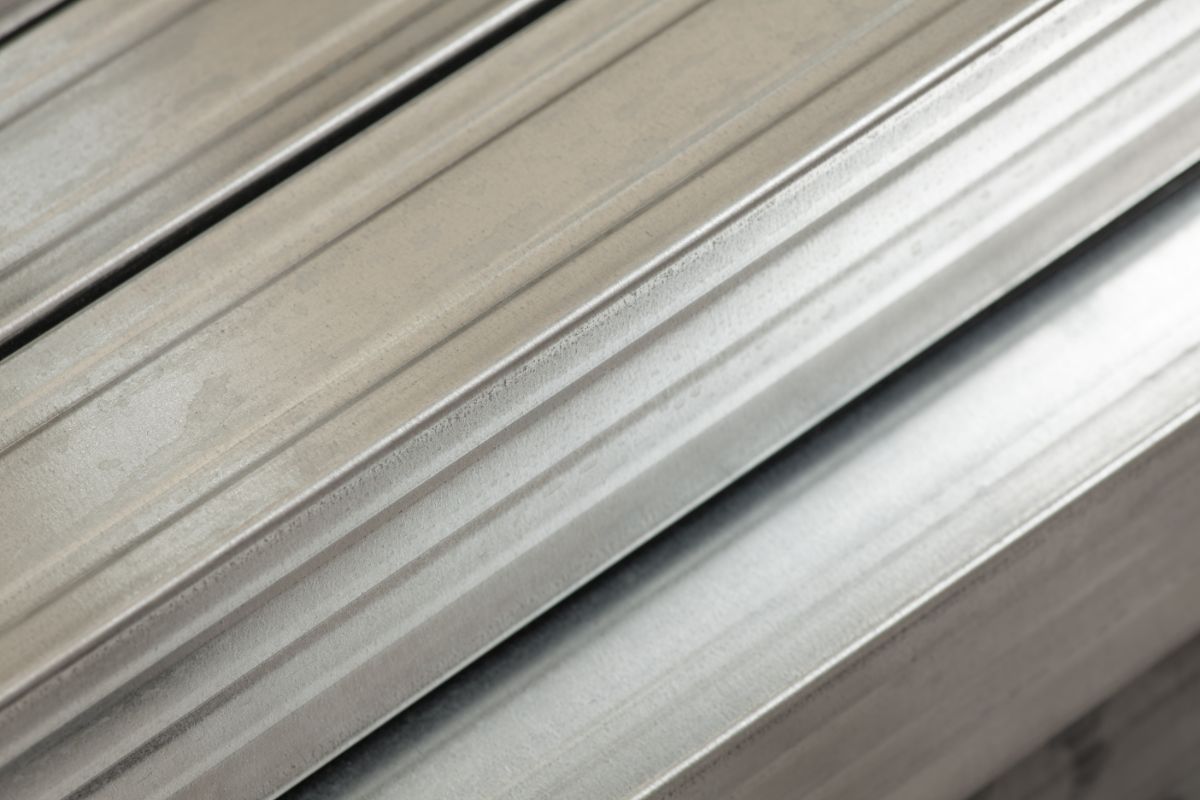
So we’re going to look at steel studs, all you need to know for your outdoor kitchen build. Everything for using steel as a framing material will be included.
Building An Outdoor Kitchen With Steel Studs
If building an outdoor kitchen is your next big project you should consider using steel studs. There are many advantages to using metal rather than wood for framing an outside structure. More on the pros and cons later.
To successfully build your outdoor kitchen there are important steps you need to follow, and we’ll go through them with you so that you don’t miss a thing. First though, think about whether you want to tackle this as a DIY project or hire a contractor.
Planning
So you’ve decided to bite the bullet and build your outdoor kitchen yourself. The initial step is to plan the kitchen properly. The biggest part of most projects is in the planning stage. If you get that right then you’re setting yourself up for success in the build.
Vital to this stage is getting the dimensions of all the appliances and fittings you are going to include in the kitchen. This includes the grill, refrigerator, sink, cabinets, drawers and anything else that you want to add.
Essential Tools
With your plan complete you need to ensure that you have all the right tools for the job. Working with steel studs means you will need some specialist equipment, but nothing too fancy so don’t sweat it. You can hire what you don’t have in your own collection.
You’ll need:
- Level
- Hammer drill
- Metal saw
- Clamps
- Screw gun
- Fasteners
- Plumb bob
- Chalk line
Now that you have assembled your tools and are armed with a detailed plan it’s time to do some math. Sorry about that but it’s necessary.
Calculate The Number Of Studs
Using the dimensions of your outdoor kitchen plan you need to work out how many steel studs you are going to need. In general, you’ll need a stud every foot to form the walls of the framework.
You’re also going to need steel plates or tracks for the top and bottom of the frame, in other words the horizontal part of the structure. Consider if you are going to need any headers for any part of the frame and make allowances for extra steel plates.
Mark Out Your Kitchen
You can now go ahead and mark out the kitchen on the ground with a chalk line. If you are working on a concrete slab you could use a straight edge and permanent marker. Having your plan to scale will help you to transfer the outline to the ground accurately.
At this stage you may want to make adjustments and this is the time to do it, before anything is cut or screwed into place. Miscalculations at this stage will cost you later.
Fit The Tracks
When you are happy with the outline of your outdoor kitchen and have made any last minute adjustments you can begin to fit the tracks or steel plates. Position them along the chalk lines or marker line ensuring that they are straight and level.
If you are fixing the tracks to concrete you’ll need to use a hammer drill. When using long runs of track you should overlap them where they meet for at least six inches. Make sure you are using the correct screws for the surface you are screwing into.
Trim The Steel Studs
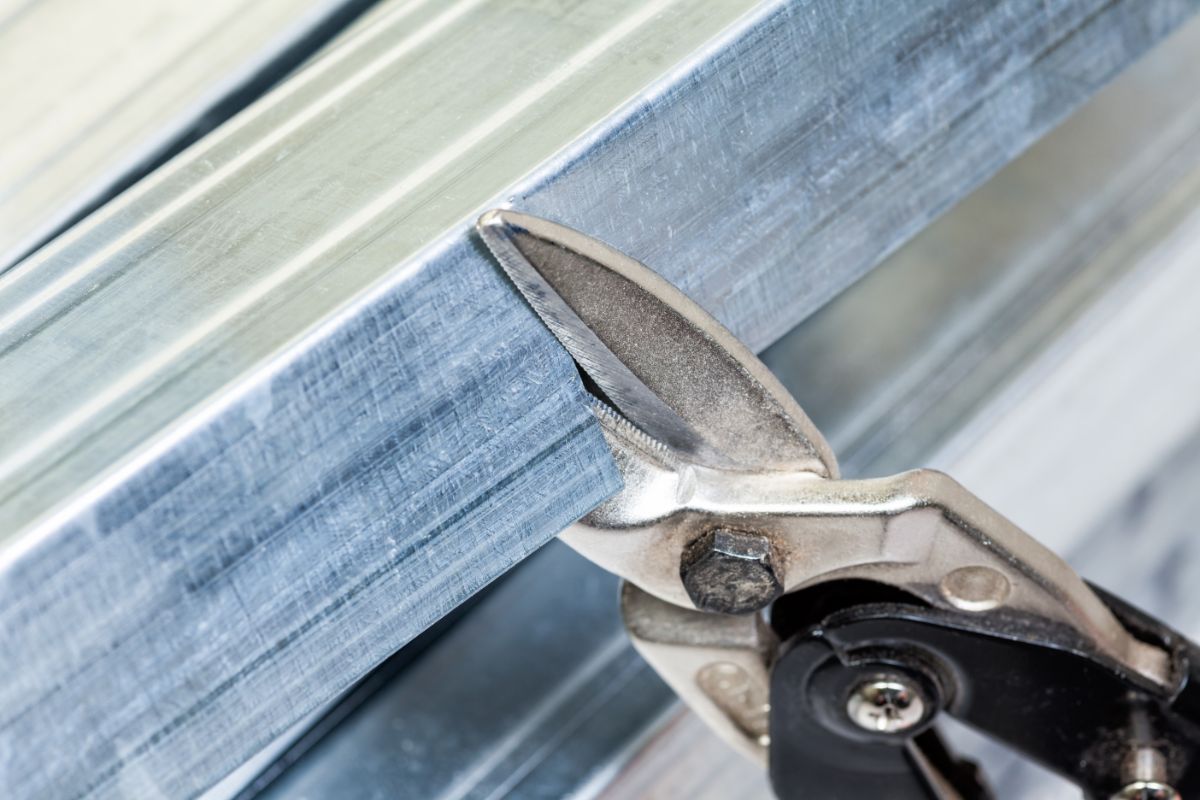
From the dimensions of your plans you will know what size each stud needs to be. You can cut them to length using a metal saw or an angle grinder. When working with joins, corners and angles you can cut the tracks and studs with metal snips.
Remember to wear gloves and safety goggles when cutting the steel studs or tracks.
Attach Studs To Tracks
Use the clamps to hold the stud and track together firmly and drill a pilot hole for the screws. This makes it much easier to fix the two together rather than using self tapping screws. Be careful not to overdrive the screws as this can strip the hole resulting in a weak joint.
The top tracks can also be fixed to the studs. You may want to add some headers if you have concerns about the weight of some appliances that you’re going to fit.
Run Electric Cables & Gas Lines
You’ll need power for your appliances such as a refrigerator and grill so make sure you cut access points for cable and pipes through the studs. Any holes should be fitted with plastic bushings to protect the wires from the sharp edges of the cut holes.
To keep the wires safe and secure you can use rigid or flexible conduit. Any electrical and gas installation should be carried out by a qualified professional.
Cement Board & Countertop
The last step in building an outdoor kitchen using steel studs is to add the cement board and countertop. The board can be fixed to the steel framework using cement board screws. It’s probably easier to fit whole sheets to the frame and cut out for appliances afterward.
The countertop that you fit can have an impact on the structure of the frame. A concrete or granite countertop will be very heavy, so you will need to reinforce the steel frame to support it.
Other materials may not be so heavy, but you should ensure the countertop is adequately supported and firmly fixed in place.
Advantages Of Using Steel Studs For Outdoor Kitchen
One of the major advantages of building an outdoor kitchen using steel studs and framework is that the whole structure will be reasonably light. This means that you can fit it to an existing patio or deck.
Despite being light, steel is a strong material and will provide good support for all your kitchen appliances, countertop and accessories.
As your kitchen is outdoors steel is more resilient and durable, far more so than wood which is at risk from moisture and insect attack.
Disadvantages Of Using Steel Studs For Outdoor Kitchen
Steel is not as user friendly as wood, and you may hesitate to use it if you are contemplating a DIY outdoor kitchen. But in reality, it’s not as complicated as many may think and much of the same principles apply to using steel as when using wood.
The price of steel may put some people off using it, however the rising cost of timber is making the alternative of steel a more reasonable choice.
The finishes that you can put on a steel frame outdoor kitchen are limited to lightweight veneers so using facing stone is typically not an option.
Final Thoughts
Hopefully you will now have all that you need to know about using steel studs and framing for your new outdoor kitchen.
With such a resilient material, your hard work will be still standing for years to come for you and your family to enjoy.


