Ah, pizza. It’s so delicious. That crispy base smothered in sauce, loaded with cheese, and then sprinkled with your favorite toppings. What could be better? When those hot summer months roll around, can you imagine sitting in your garden surrounded by friends and family, an opened six-pack, and the smell of freshly cooked pizza filling the air?
It makes my mouth water just thinking about it.
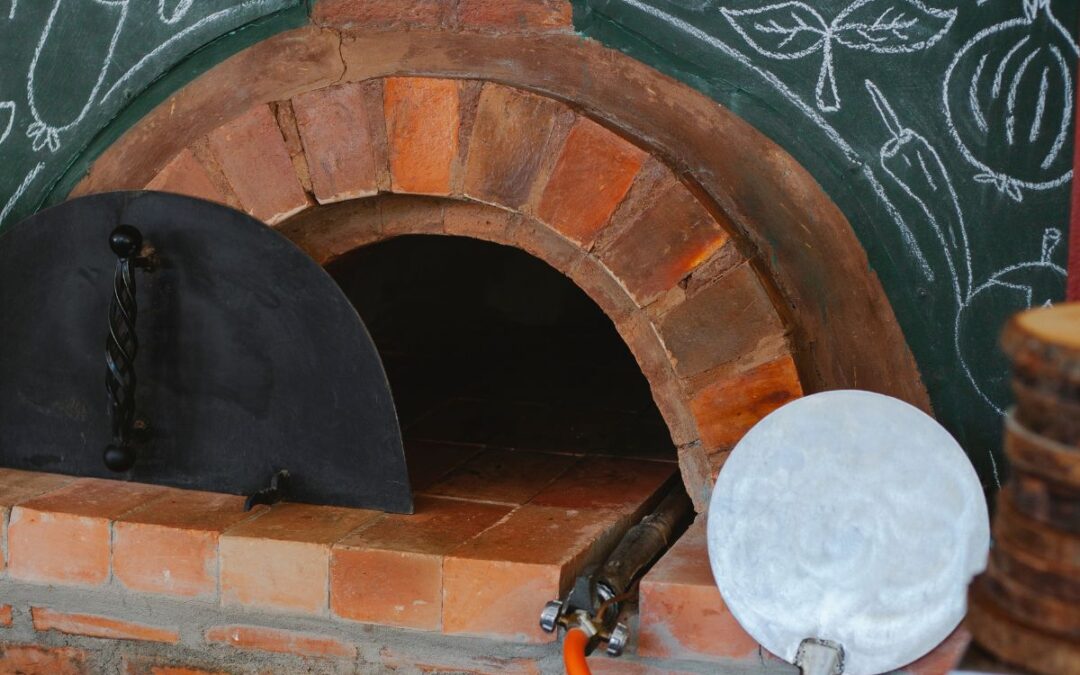
Well, if you want to make this dream a reality, the first thing you’ll need to do is invest in an outdoor pizza oven. But considering you’re with me, reading an article about how to use them, I’m going to assume that you’ve already made that incredibly clever investment into the equipment.
Now, you just want to learn how to use it, right? Well, then, I’ll stop waffling on and we’ll get straight to it, shall we? So you can get cooking and have full bellies all around. Come on then, let’s begin.
Tips & Tricks For Using An Outdoor Pizza Oven
1. Choose Your Wood
Okay, so the very first thing you’ll want to do is select the type of wood that you are going to use for your fire. You should always opt for a seasoned (air-dried) hardwood for your fire. That still gives you plenty of options.
Ash, walnut, oak, beech, birch, maple, and hickory are all great choices because they burn at quite high temperatures which means that your oven will heat up faster. And that means you’ll get your pizza quicker.
You should never use pine or other similar conifers for your fire as they will emit sap and this can really gum up your oven. They can also emit terpenes which will leave your food smelling and tasting particularly unpleasant. And no one wants ruined pizza.
2. Start Your Fire
Next, starting in the center of the floor of your oven, you’ll want to start your fire using kindling. This is the only instance where a little bit of pine won’t hurt. To be honest, though, even some crumpled-up newspaper will do the job just fine.
Then once that is in place, you can start to add a few pieces of your chosen hardwood on top of your kindling. When everything is in place you can then begin lighting your fire. I would recommend using a cube or a non-toxic fire starter.
What you should never do is add additional scrap pieces of wood such as plywood or particleboard to the pile. Not even just to get the fire started.
3. Keep The Fire Alive
You’ve got your fire started, but now you need to keep it going. Keep adding small amounts of your chosen wood onto the fire. Don’t do this all at once. You’re trying to keep the fire alive without turning it into a full-force roaring flame.
The wood you are using shouldn’t ever be more than a couple of inches in diameter. Larger pieces of wood will burn slower and take longer for the oven to heat up. Ensure that the wood is always in the center of your oven, too.
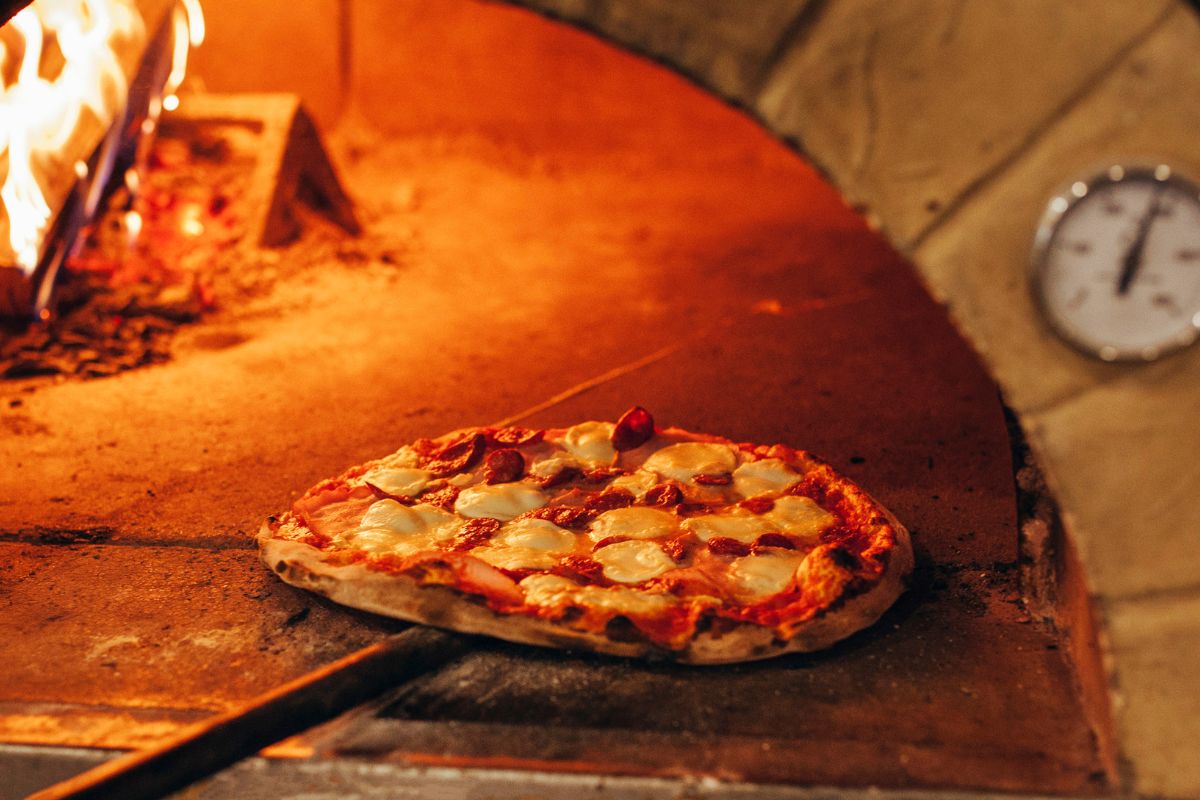
How long it will take for your oven to get up to the desired temperature (700 F) will depend on your oven, but usually, it’ll take somewhere between 30 and 90 minutes.
4. Ensure Heat Is Evenly Distributed
Uneven heat distribution will lead to poorly cooked pizza, and we don’t want that. So, you’ll need to ensure the heat is always evenly distributed. How much wood you’ll need to do this will depend on how long and how much you are cooking.
But you’ll want to keep pushing the burning wood to the left or right side of the oven, or alternatively divide it evenly between each side. Don’t let the fire die out to just smoldering embers either, you want a little bit of flame at all times.
5. Cool The Oven Down If You Need To
The flour test will be your best friend here. Sometimes the oven can initially be a little too hot to actually cook on. The flour test is very easy and simple to do. Simply throw a handful of flour onto your cooking surface, if it turns black almost instantly or catches fire, it’s too hot.
Too hot = burned pizza. So don’t start cooking just yet.
An easy fix for overly hot ovens is to just open up the oven door for 10-20 minutes. Once this time has passed you can try the flour test again. If it doesn’t turn black or catch flour, you’re all good to go and you can pop your pizza in the oven!
6. Cool Down & Clean Up
Once you’ve cooked, and demolished your pizza, there is the matter of cleaning the oven. But luckily, this is actually one of those cases where you will have to say I’ll do it tomorrow.
This is because it is best practice to let it cool down overnight before beginning the cleaning process. This process is relatively simple. You’ll want a brush or rake to scoop away all the ash, embers, and wood from the oven.
Then for any messy food stains, you’ll want to stick to a copper or brass brush to ensure that you don’t damage the stone or brick heating surface.
And as simple as that – you’re all done.
Final Thoughts
And just like that, you now know how to use your pizza oven. So what are you waiting for? Delicious food awaits! Make sure you’ve got all the bits that you need and get your first-ever trial run up and running.
Don’t be disheartened if your first pizza doesn’t come out amazing, it’ll take a bit of getting used to, especially with ensuring even heat distribution. But don’t worry because practice makes perfect. And hey, not-the-best-first-attempt-pizza is still pizza!