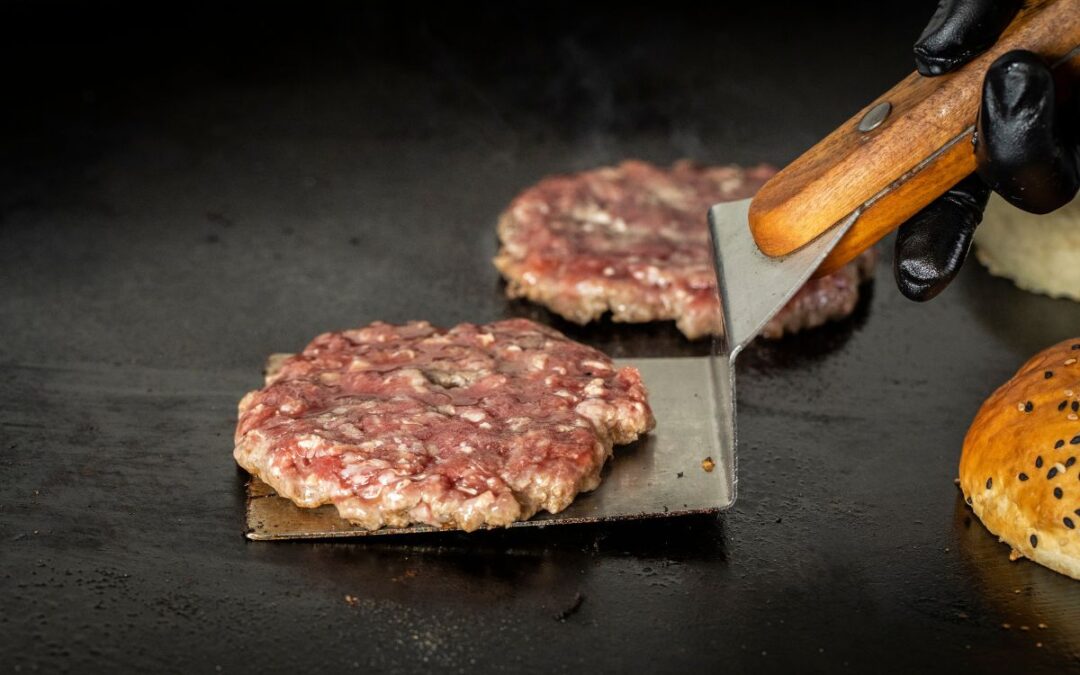
Are you ready to be crowned King or Queen of grilling? To have everyone say how your food is the absolute best? Well, you’ve purchased your Blackstone griddle so you’re halfway there already. All you need to do now is season it so that you’re ready to go.
Now, we’re not talking about adding a few nice spices, some crushed garlic, or a sprinkling of salt. That’s a different type of seasoning that you’ll need to do to the meat itself. What we’re referring to here is when you heat oil past its smoke point. The oil will break down in the high heat of the grill.
This will cause the fatty acids to oxidize which will bind together a new layer of molecules on the top of your griddle. The fancy name for this process is polymerization.
There are a couple of reasons why you’ll need to season your grill before you get cooking those succulent chicken breasts, tasty burgers, and scrumptious sausages. First of all, it’s going to make it much more durable and make cleaning it at the end of the day a whole lot easier.
It’ll also make the surface non-stick, and the more you use the grill the better this non-stick will become. And then it also creates a layer of protection on the griddle which will keep it safe from the elements and stop it from damaging or rusting.
But now you know what seasoning a grill means, and why you do it, the other main question at hand is how do you do it? Well, keep reading and you’ll find out!
Step-By-Step Guide To Seasoning Your Blackstone Grill
Okay so just before we start going through the steps you’ll need to take to season your grill, let’s take a moment to prepare for doing so. You’re going to need a few tools so let’s create a checklist and make sure that we have everything before we start.
- Mild Soap & Warm Water
- Lint-Free Paper Towels
- Tongs
- Heat-Resistant Gloves
- Blackstone Seasoning & Condition/Other Oil Of Choice
Got everything you need? Great, let’s begin then.
1. Wash The Grill
So for this step, you’ll need your paper towels and mild soap or dish soap along with some nice warm water. This is because it’s always advisable to wash your new grill. Your grill will be pre-seasoned with oil so that it doesn’t get damaged or start to rust in the time it takes to get delivered to you.
The soap will help wash away those residue oils along with any dust that the grill may have collected through its time in shipping and storage.
You’ll want around 2 liters of warm water in a bucket and then you’ll squeeze your soap right into the water and give it a gentle mix. Then slowly but surely, you’ll start to add the soapy water to the griddle.
Then with your paper towels, you’ll ensure that it rubs over the entire surface. Then you can rinse the grill with clean water and dry the surface with a new clean paper towel.
Only use soapy water on NEW griddles.
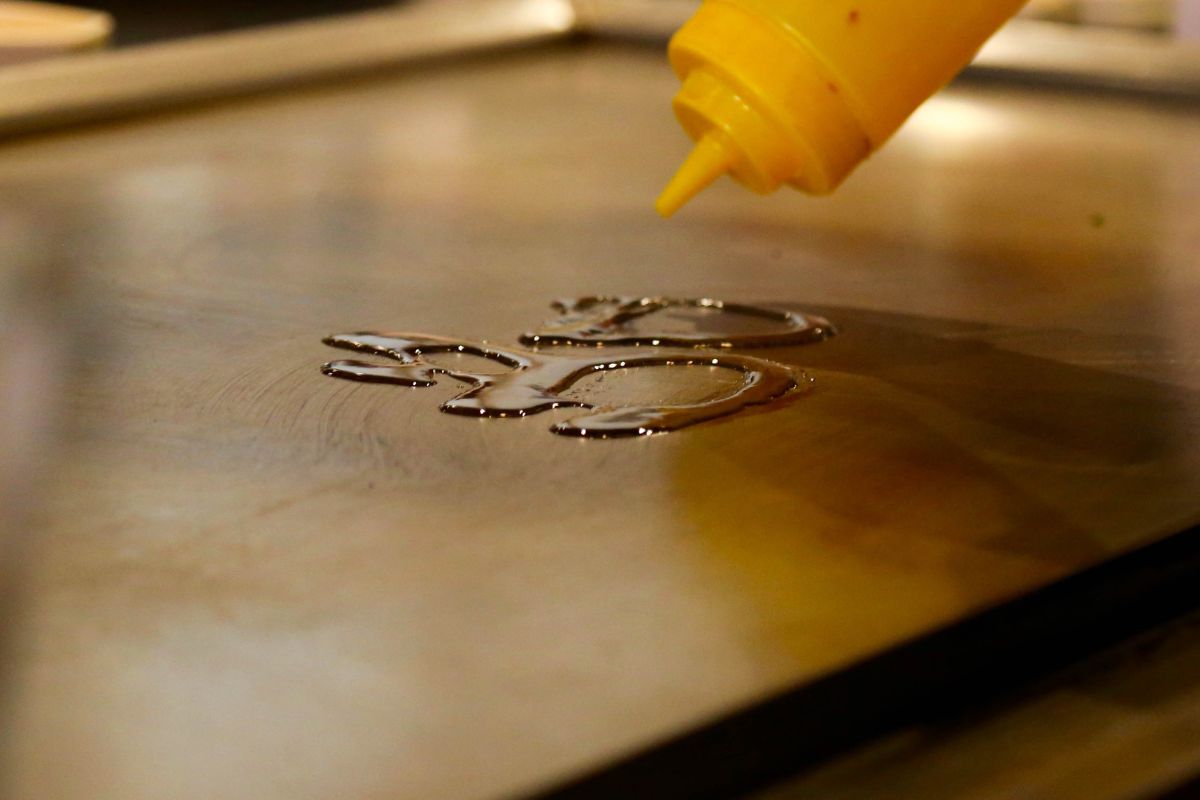
2. Choose Your Oil
When it comes to seasoning your grill, you want to opt for one that is rich in fatty acids. Personally, I would go for Blackstone Grill seasoning and conditioner. But there are plenty of options to pick from but I would go with something from the following list if you don’t opt for the seasoning and conditioner:
- Coconut Oil
- Vegetable Oil
- Flax Oil
- Lard
- Extra Virgin Olive Oil
- Canola Oil
- Vegetable Shortening Oil
Where possible try to avoid trans-fatty oils that are linked to various health conditions
3. Burn, Baby, Burn
Next, you’ll want to whack those burners on as high as they will go for approximately 10 to 15 minutes. You’ll notice that it’s time to move on to step four once the cooktop turns brown in color.
Things To Consider
- Propane/Gas – It’s always a good idea to double-check that you’ve got enough propane or gas for this step. There’s nothing more annoying than running out halfway through.
- Dry – Your grill needs to be completely dry after the cleaning process before you begin.
- Gloves – The grill is going to get pretty hot and touching it is going to hurt…a lot. Make sure you’ve got heat-resistant gloves on.
4. Oil It Up
Once those burners have been on and the surface is nice and hot, you can start to place your oil of choice on the grill. You can spread it using a paper towel. Just make sure you’ve got your gloves on and use the tongs to move the towel to help avoid burns.
Make sure that you do not leave a single spot of the grill dry – coat it all.
Once the main griddle is done, you also want to make sure that you’ve oiled up the entire surface of the cooktop including the edges, sidewalls, and corners of the cooktop. Don’t leave a single space untouched by the oil.
5. Let It Smoke
Once you are sure the entire surface is covered in a thin layer of oil, you’ll want to leave it on that high heat for anywhere between 15 and 30 minutes. You’ll notice that the plate will turn black in color and a lot of smoke will fill the air, don’t panic this is meant to happen. Leave it until the smoke starts to dissipate.
6. Turn Off Your Grill
When the smoke is gone, you can then turn off the heat and leave it to cool right down. And just like that, you have your first layer of seasoning on your grill! Congratulations, you did it!
7. Repeat As Necessary
For most grills, especially new ones, you’ll need more than just one layer of seasoning. Usually, two or three layers are ideal.
8. Wet The Surface
Once you’ve reached your desired seasoning level, you’ll want to allow the grill to cool right down. Once it has, lightly wipe the grill with a paper towel that has oil on it. Cover the entire surface. This will help prevent rusting.
Final Thoughts
And as easy as that, you’re all done, and you can rightly claim your crown as Best On Grill. Get those invitations sent out, gather your friends, show off your skills, and cook up a real feast fit for Kings and Queens.