If you’ve already spent the money to get a new kitchen island installed in your kitchen, making the place much more stylish and exciting, then you’ll want it looking the best that it can.
Unfortunately, this won’t always be the case initially, because you might find that the back of the kitchen island is looking quite bare and dull. Worse, it will often consist of two different panels, and the seam between them will usually be very obvious. On top of this, you might find other parts of it need covering up, too.
This can make the kitchen island look a lot cheaper, unless you finish it with a sleek and simple design. But how can you do that?
We’ve got the answers! In the detailed guide below, we’re going to tell you how to finish the back of a kitchen island. By the end of following our step by step process, you’ll have a kitchen island that looks much better!
What Resources Will You Need?
Before we start, it’s important to set out all the tools and materials that you’ll need to finish the back of your kitchen island. It’s best to have most of these ready before you follow our guide.
Tools
- A circular saw or miter saw
- An air compressor
- A pneumatic nail gun
- A tape measure
- A paint tray with two 2 inch foam brushes
Additionally, you might want a mechanical sander to achieve some smoother results.
Materials
- 3 X ¼ inch trim wood (your choice of type)
- A piece of ¼ inch thick corner trim (use the same type of wood as above)
- Tin of wood stain (pick a color that matches your kitchen island)
- Polyurethane (again, choose your sheen)
- 1 inch brad nails
How To Finish Back Of Kitchen Island
Though it will take 2 days for it to be finished, it’s not going to be difficult to finish the back of your kitchen island with these steps. However, if you’re inexperienced with DIY, then get a professional to help, because dealing with saws can be dangerous.
Step One: Measuring For The Trim
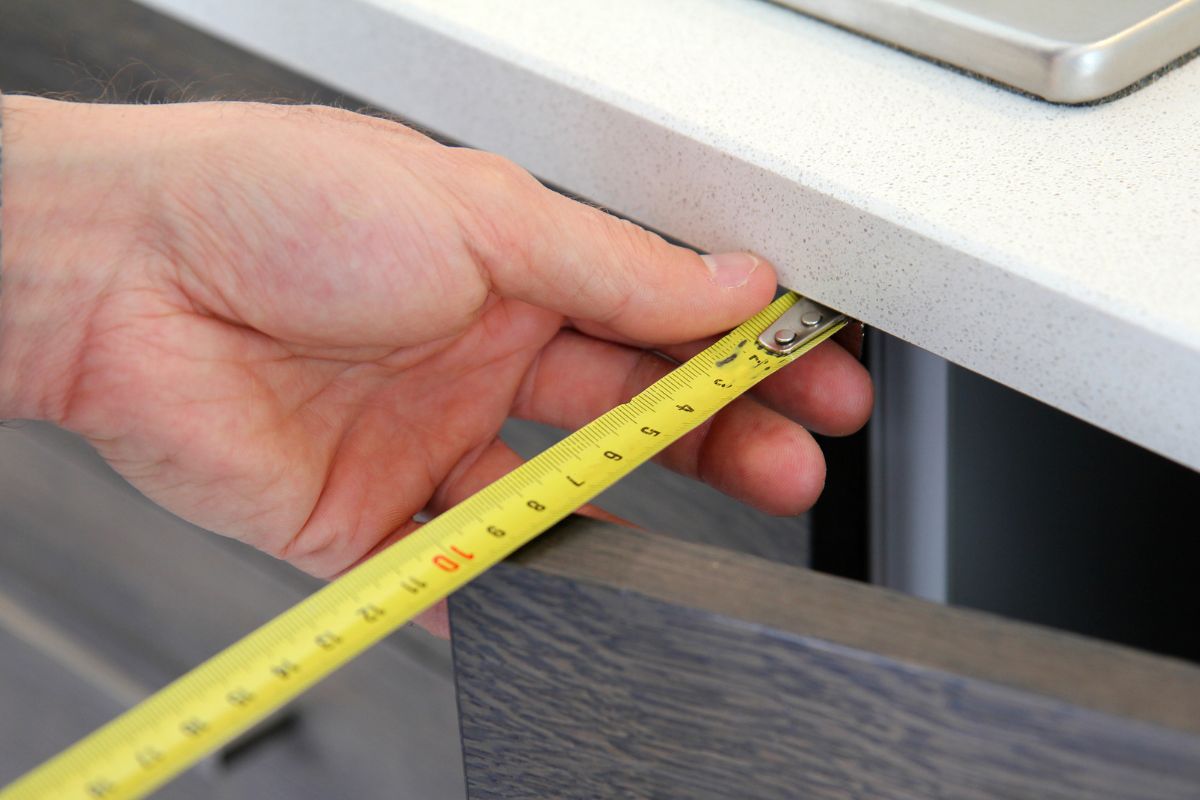
To begin with, you’re going to need to measure all the parts of your kitchen island that will need covering, so that you then know the dimensions for each piece of wood trim. These measurements will differ with everybody’s kitchen island, so you will need to make accurate ones yourself.
In terms of what parts might need trim, that will also depend on your specific kitchen island. For example, it might be that the back of your island had a very noticeable seam down the middle, and you want to make that less obvious.
On top of that, you might find that there are open areas where the panel meets other the floor or the cabinets.So, when you’ve decided which parts you will be improving, it’s time to get your measuring tape and measure the width of wood that you’re going to want.
Once you’ve got your figures, you will know what width of trim you’re looking for. Try to find trim at a store that has the correct size. If you can’t, you can always buy bigger and then cut it down to size with a table saw, though you would obviously need the tools to do that.
Additionally, you can choose what type of wood you want the trim to consist of. If you can, get one that matches the other wood in your island.
Step Two: Cutting The Trim
Once you’ve got your wood trim, it’s time to measure all of the areas where it needs to go on the kitchen island, and note down your figures.
If you want to do a full coverage job for the back of the kitchen island, then measuring the following sections will be a good way to cover all the sections you need:
To start with, measure the corners. After that, measure the top and bottom of the cabinet’s back section, before measuring the seam that goes down the middle of the back.
Next, measure the top and bottom of the cabinet’s left side, then the top and bottom of the right. To finish, measure the small connecting parts of the side where the lip joins the bottom trim.
Once you’ve got your measurements for each part, you’ll know what dimensions to cut your pieces of wood trim into. You can do this with a circular saw or a miter saw, but you should wear protective gear and be very careful.
As you cut different pieces, try dry-fitting them before moving onto the next. A dry-fit is when you fit pieces together to ensure they fit correctly, before you secure them properly.
Step Three: Painting Or Staining The Trim
You can either paint or stain the trim. Either way, if you get imperfections during the process, sand them out and add another coat.
If you paint the trim, it will be much quicker. Get a color that matches the island, then paint the trim using a foam roller, covering the edges before the face and going in one direction only. Give it three coats.
On the other hand, staining the trim will take longer. This takes only one coat, which you can apply with a foam brush, doing the edges and face. However, the longer the stain sits, the deeper the color will be. Therefore, you’ll want to wipe it off with a new rag if you don’t want it too dark.
After that, let it dry for the duration specified on the can. After that, take your polyurethane and do three coats.
Step Four: Nailing The Trim
When your trim is fully dried, begin nailing them to the respective locations. Use brad nails to do this, and hold them in place carefully each time as you are nailing them in.
Final Thoughts
There you have it! The back of your kitchen island will now look as stylish as the rest of it.


