The taste of a cool beer on a warm day is like nothing else and when it comes from your own kegerator the taste is all the sweeter. So you need to make sure that you keep all of the parts of your kegerator clean to keep enjoying that taste.
We are going to show you how to clean the lines in a kegerator, so you never have to worry about your beer tasting or smelling bad ever again.
Why Clean Your Kegerator?
If you have a kegerator you will need to clean it after each keg of beer. This is because if the lines of your kegerator are left uncleaned it can cause the growth of yeast, bacteria, mold and sediment. This sediment is often called beer stone.
By not cleaning these contaminants out of your kegerator you risk having beer that tastes bad and will give off a nasty smell. That’s the last thing you want, so it is necessary to carry out this maintenance regularly.
What Do You Need To Clean Your Kegerator Lines?
There are a few things that you will need in order to clean your kegerator lines.
First you need a cleaning compound which will help eliminate any residue from the beer tap and lines.
Then you will need a bottle to mix the cleaning solution in and a hand pumped or automatic beer line cleaning kit. This allows you to effectively pump the solution through the lines.
You’ll also need a spanner wrench to remove the beer faucet and a bucket to catch the cleaning solution as it comes out of the lines.
Now you are ready to begin cleaning your kegerator lines.
Switch Off The Regulator & CO2 Tank
Before you do anything else turn off the CO2 tank and detach the coupler from the keg. Put a check ball valve in the coupler, engage it and then position it in the bucket to collect the used solution.
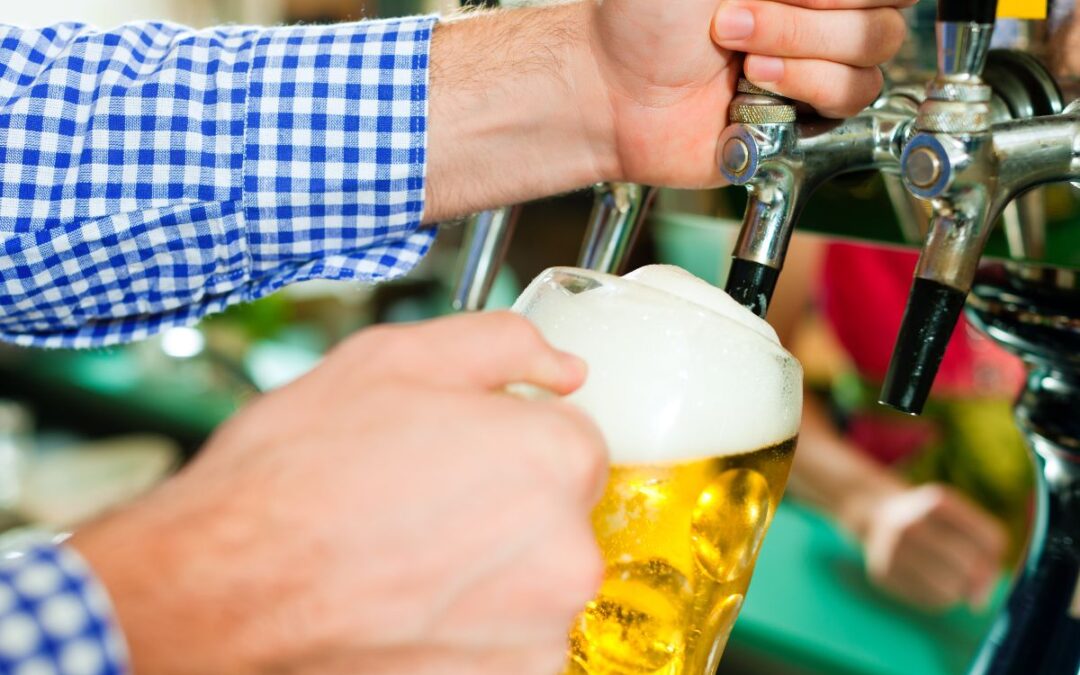
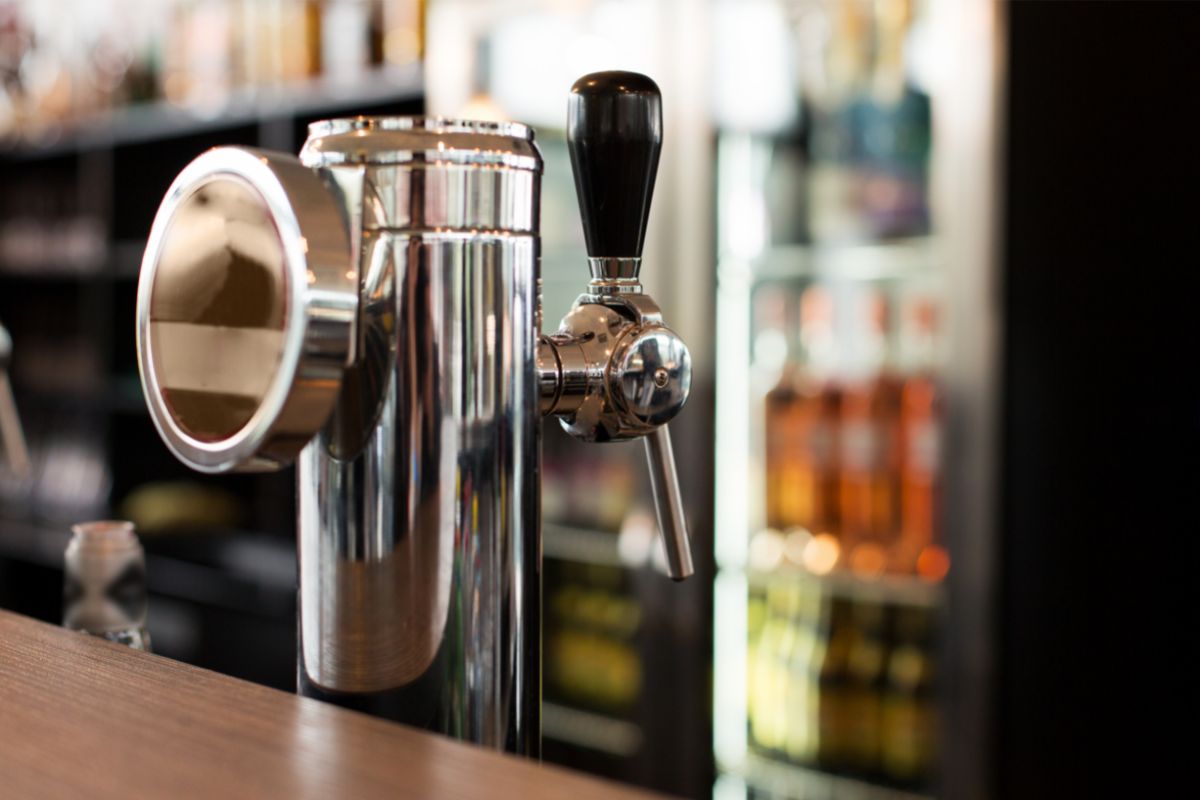
Take Off The Beer Faucet
Use the spanner wrench to remove the beer faucet. The majority of beer faucets are designed so that a clockwise rotation loosens them and a counterclockwise rotation tightens them.
So turn your spanner wrench clockwise until the beer faucet loosens. Remove the faucet, this will also need to be disassembled and cleaned.
Make A Cleaning Solution
You now need to make up the cleaning solution by dissolving the cleaning compound water in hot water. The exact ratio will depend on the particular product that you are using, but typically you will use a tablespoon of powder for every gallon of water.
The water needs to be hot, the hotter, the better for a thorough cleaning. Once it is mixed, transfer the cleaning solution to the beer line cleaning kit.
Clean The Beer Faucet
To thoroughly clean the beer faucet you will need to take it apart. Do this carefully and remember where all the pieces go, so you can put it back together properly.
Put a tablespoon of the cleaning powder in a bowl and add some very hot water so that it dissolves completely. Mix if necessary and put all the pieces of the beer faucet into the bowl making sure they are submerged in the solution.
Keep all the pieces of the beer faucet in the solution for between half an hour to an hour. This should ensure that all of the residue is removed from the faucet and all its components.
Next take the beer faucet and use a small bottle brush to clean the inside of the faucet. Once you are happy with how clean it is, rinse the beer faucet with clean water. Drain the cleaning solution from the bowl, making sure you don’t lose any parts and rinse those too.
Now you can reassemble the beer faucet. Remember not to overtighten the tap handle as it needs to be slightly loose when you pour your beer.
Pump The Cleaning Solution Into The Kegerator Beer Line
To pump the cleaning solution through the beer lines you need to connect the line to the faucet shank on the kegerator. Remember to use a beer line washer between the two and double check that the keg coupler is sitting in a bucket to collect the used solution.
Now begin pumping the solution through the kegerator beer lines until you have used roughly half. Then disengage the keg coupler and allow the cleaning solution to soak into the lines of your kegerator for about 10 minutes.
Then re-engage the coupler and pump the rest of the cleaning solution through the beer lines. It is recommended that you repeat this process to thoroughly clean your lines.
Rinse The Beer Lines
Now that the cleaning solution has cleaned the kegerator lines of residue and bacteria, you need to remove the cleaning solution from the lines. To do this you have to rinse the lines by running clean water through them with nothing else added to it.
Rinse the beer cleaning kit with clean water and fill the bottle once more just with water.
Repeat the process as you did with the cleaning solution, again making sure that the keg coupler is positioned in the bucket to catch the water. Repeat the rinsing process twice.
Reattach The Coupler And The Beer Faucet
You now need to disconnect the cleaning kit from the kegerator and reattach the beer faucet. Use the spanner wrench and tighten in a counterclockwise direction, making sure that it is secure.
Remove the keg coupler from the bucket and thoroughly rinse in clean water. Make sure you disengage the coupler and remove the check ball valve before refitting it to your beer keg. You can now turn your CO2 back on as well as your regulator.
Final Thoughts
We hope you have enjoyed our guide on how to clean the lines in a kegerator and that we have given you some insight into how to always have great tasting beer.