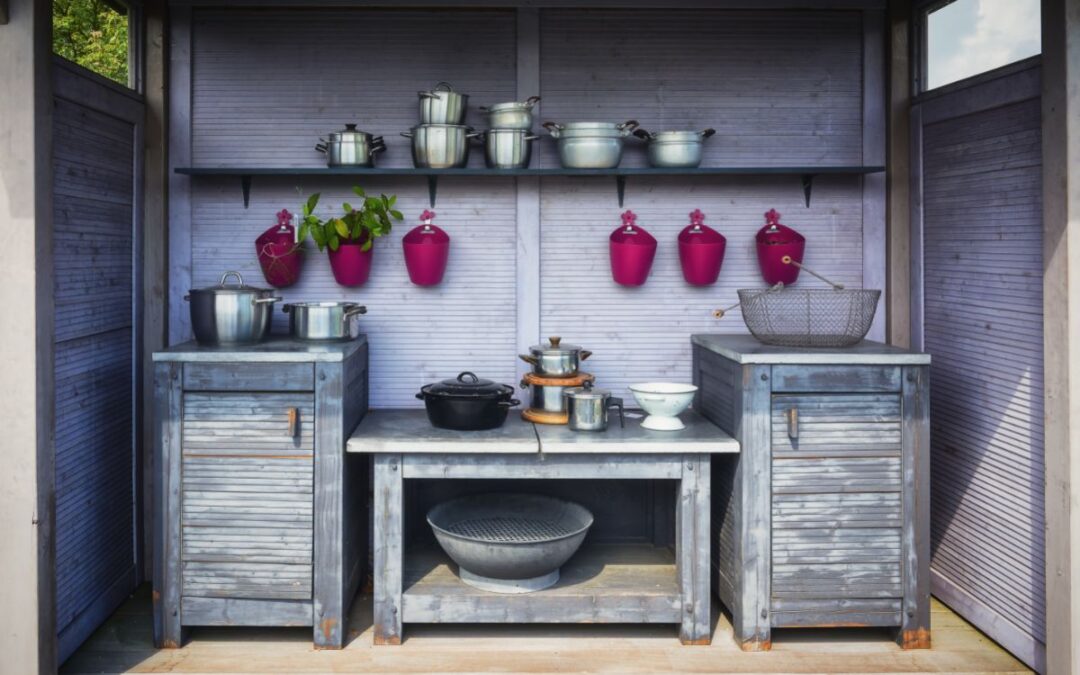
An outdoor kitchen is one of those things that you think you don’t need until you have one. Then you wonder how you ever got through life without it. Cooking outside is the epitome of freedom, and we can’t get enough.
If you’ve ever seen a video of someone cooking outside and wished you could share that experience, then we have the article for you. You can make your own outdoor kitchen with metal studs today! Let’s get started with teaching you how to do just that.
DIY Or Pay A Professional?
The first question you’re likely asking is whether you want to go the DIY route or pay for a professionally built outdoor kitchen. While making it yourself might save you some money, the job isn’t done as well as a professional could.
You’ll waste time, make mistakes, and increase your chances of having to replace aspects of it prematurely due to these mistakes. All of the money you saved initially would have to be spent paying for these.
A professional knows exactly what they’re doing and therefore will leave you with a stellar outdoor kitchen – that you didn’t have to lift a finger for.
Why Use Metal Studs To Build Your Kitchen?
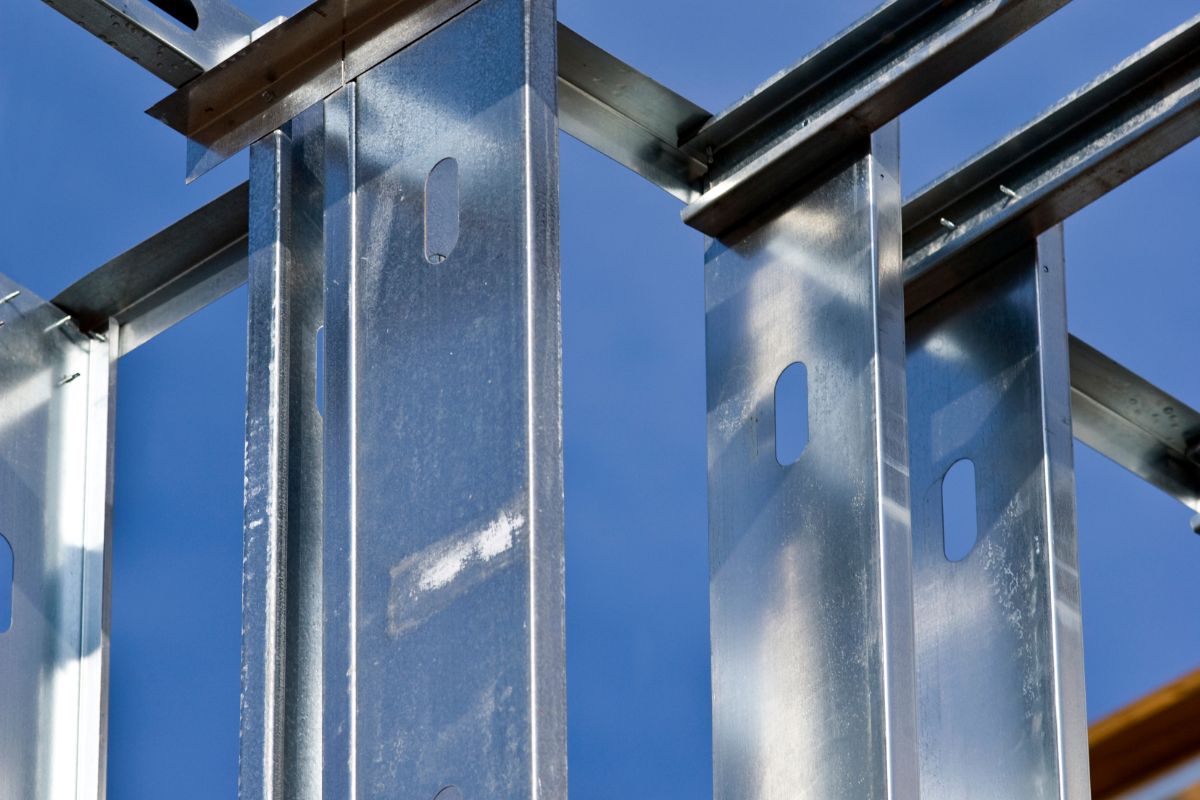
Metal studs are sturdy, reliable, and weather resistant. When building an outdoor kitchen, you need to be aware of the climate and what will last you the longest. Too many people use wooden beams for their outdoor kitchens only for them to break down due to not being weather-sealed.
Metal studs are rust-resistant and won’t corrode easily due to contact with the outdoor elements. Plus, they’re inexpensive. Anything that is strong enough to hold up a wall is trustworthy enough for an outdoor kitchen, so we love the idea of using metal studs as your outdoor kitchen frame.
Number Of Studs Needed
Now that you’ve decided to use metal studs for your kitchen, you’ll need to know how many you’ll need to build the frame. Usually, one stud is used every 12 inches of a wall (300 mm). Steel plates are then secured to the top and bottom of the studs to create a frame. The best thing to do here would be to consult a professional.
If you’ve never built a wall before, you’re going to have trouble determining the best placement for the studs. A professional will be able to tell you how many you need and how close together they need to be.
Once you’ve plumbed your equipment into the stud frames, you can trim them to make sure there are no unsightly edges poking out of the top of the kitchen. The stud frames are ideal for holding your outdoor equipment such as an oven, burners, refrigerators, and countertops. If you have made a reinforced wall, you can add cabinetry for additional storage.
How Big Should Your Outdoor Kitchen Be?
When considering making your own outdoor kitchen, the first thing you need to do is contemplate how big you want your kitchen to be. Small outdoor kitchens can be as simple as two counters attached to either side of a grill, giving you extra cooking space and some additional storage underneath them.
These are simple to make, cheaper, and suitable for anyone who enjoys a summer cookout. The alternative is to go all out with a hardscape kitchen. Hardscape is the non-living aspect of landscaping, such as stone floors, gazebos, and outdoor kitchens. A hardscape kitchen adds structure to the kitchen and can make it look purposeful and permanent.
These kitchens are certainly something to admire, although they do require more space and investment. When using studs to create your outdoor kitchen, they are useful in both big and small plans. Small outdoor kitchens might need as few as eight metal studs to make two counters, while larger kitchens require many more metal studs.
Make sure that you measure the entirety of your outdoor space where you want the kitchen to go. Once you’ve ordered the studs, it’s more difficult to make changes to their lengths. Measuring correctly the first time will stop you from having to rectify mistakes in the future.
How To Measure The Outdoor Space?
Make sure you have a metal measuring tape (these are best), a pen, and a piece of paper. Enlist the help of someone else to get the most accurate measurements. You should know roughly how large you want your outdoor kitchen to be.
Whether that’s a complete hardscape kitchen or a simple grill top, you’ll know how much space you want to take up with this new investment. You’ll need to measure:
- The length of the desired kitchen space
- The height of the kitchen space
- The dimensions of your outdoor kitchen appliances.
Remember that you’re going to be using the studs to make square counters to build the kitchen around your appliances. The studs need to be the same height as the appliances, and the tracks need to be the same length as them.
Otherwise, the cooker would be sticking above the counters, the refrigerator wouldn’t be usable thanks to the too-thick counters, and so on. Of course, hiring a professional would be able to work all of these technicalities out for you. Give these measurements to a professional and they’ll have a mock-up ready for you in no time, as well as a quote.
Summary
Thanks for reading our article on making an outdoor kitchen with metal studs! Metal studs are reliable, sturdy, and relatively cheap. They’re an excellent material to use for the bones of your kitchen.
Whether you’re making a simple grill countertop or an entire hardscape kitchen, metal studs are useful in making custom countertops to fit around your appliances. Since the bones would be hollow, you can also plumb appliances into these counters easily.
We would always recommend enlisting the help of a professional when building an outdoor kitchen. It’s much more work than initially thought and you’ll save a lot of time and effort in letting a professional team create your dream outdoor kitchen.


