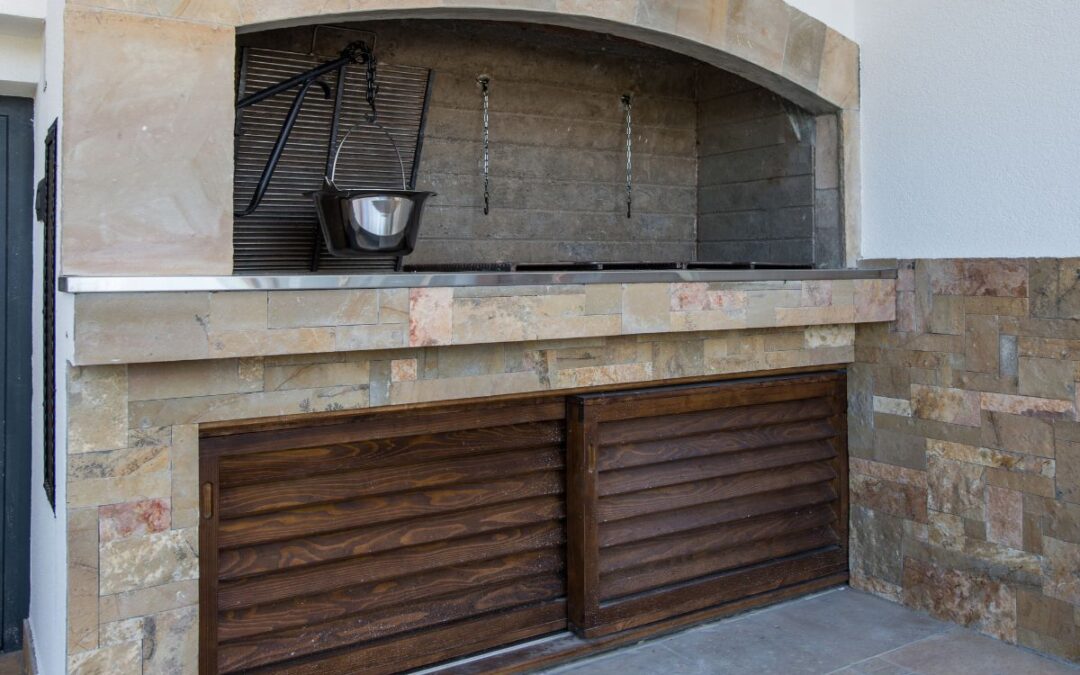
An outdoor kitchen is every grill master’s summer dream. With a patio as a base, a pavilion as shelter, and all your cooking equipment right there in the yard, you have the perfect al fresco dining area to enjoy with your family, friends, and neighbors!
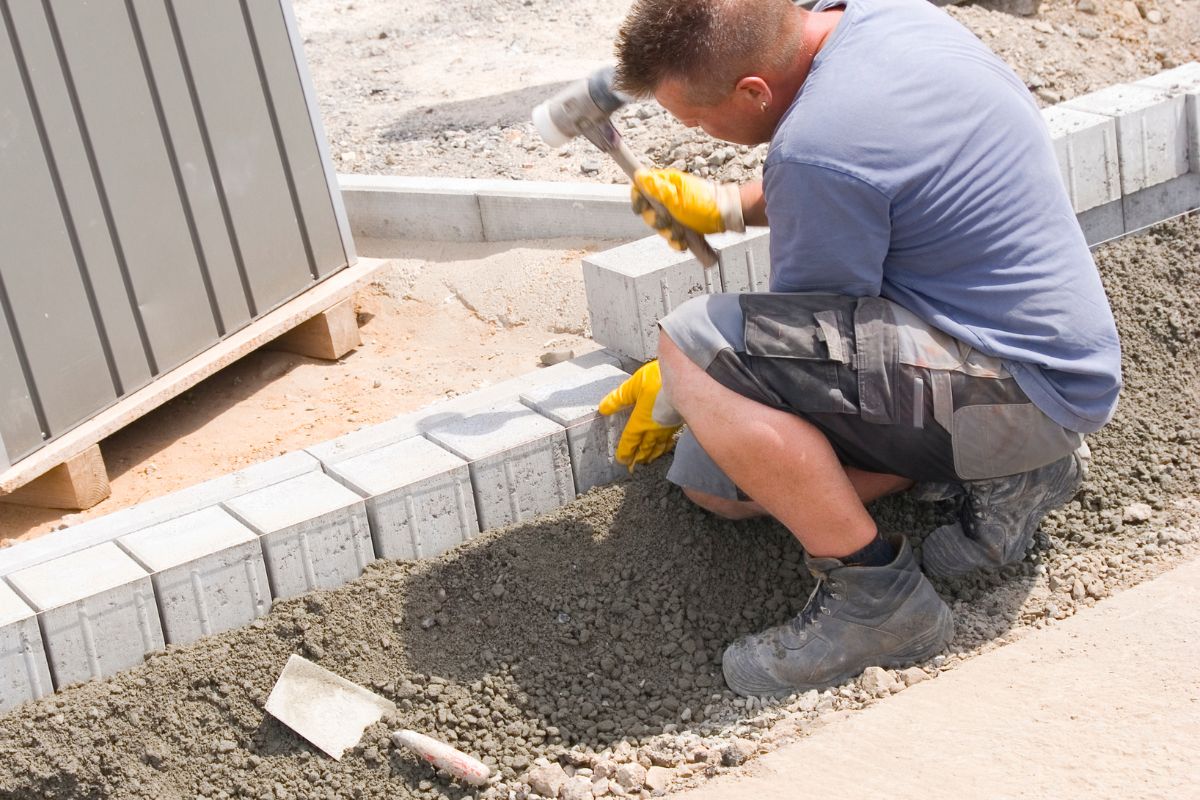
What’s more, so long as you plan your approach meticulously, it’s a pretty doable DIY job, especially as you can build your outdoor kitchen on a simple spread of pavers, thereby removing any complex structural tasks from the foundation.
However, don’t get ahead of yourself once your pavers are down. There are still some things you need to prepare before you start work on your pavilion and then the kitchen itself.
Find Out If You Need A Permit
You shouldn’t run into any problems installing a new paver patio, but did you know that some towns across the US don’t allow homeowners to build outdoor grill islands without a permit?
Ideally, you’ll have done your due diligence in this area before you even broke ground, but just in case it slipped your mind, now is your last chance to do some digging at your local council.
There may also be strict compliance rules in regard to the framing of your grill and any fireplaces you intend to install. The roof is another cause for concern to your local authorities, as they need to know you’re capable of building a stable structure that won’t be a hazard to you, your family, or your guests.
Plan In Accordance With Construction Codes
Even if you find you don’t need a permit to continue working on your outdoor kitchen, there are some golden rule construction codes to follow in order to reduce the chances of fires.
For instance, your grill needs to be at least 10 feet from all combustible materials. This includes your wood siding, any tree branches, wooden deck rails, and of course the pillars of the pavilion (if you plan on building a shelter).
Prepare Your Pavers For Construction
Congrats if you’ve got your pavers down, as it’s always a harder, longer job than anybody anticipates, so take a moment to pat yourself on the back… but it’s not over yet!
Before you can begin constructing the kitchen or pavilion, it’s essential that you prime the pavers. This is a 2-step process that I’ll detail below.
Step 1: Fill The Gaps
As I’m sure you’re aware, there should always be a little bit of a gap between all your pavers, otherwise, their rubbing up against one another can cause gradual corrosion that, over time, does some serious damage.
However, leaving a bunch of cracks and crevices in your outdoor kitchen flooring isn’t an option either. For one, it’s a trip hazard, and two, the pavers aren’t going to be secure enough to use as a base for heavy structural components, especially with lots of dangerous equipment like grills and knives nearby.
In addition, gaps between pavers provide weeds a nice, cozy spot to sprout up, particularly during the summer, which is when you’ll be using your outdoor kitchen the most.
And as these plants root deeply into the crevices between the stone slabs, they can be remarkably difficult to remove by hand. You’re more likely to snap the stem and see them grow back in a couple of weeks.
Weed killer is of course an option, but using toxic chemicals around culinary equipment and social zones isn’t a clever move. Besides, then you’ll be waiting around for all the ugly, dying plant life to decompose, which isn’t an appetizing view when you sit down for a summer BBQ.
What Should I Use To Fill The Gaps Between Pavers?
You have a few different options when it comes to filling the gaps between your pavers, the simplest of which is to sweep sand into all the cracks and crevices and be done with it, but loose sand is a suboptimal solution.
Loose sand will inevitably be blown or kicked up and get absolutely everywhere (as sand is one to do). The last thing you want when enjoying an al fresco celebration is to wind up with sandy buns, and, yes, that was a double entendre!
You could obviously try wetting the sand to compact it and keep it in place, but here’s the thing… wet sand is actually quite soft, so it won’t be holding your pavers in place all that effectively.
A much better option is to use something known as polymeric sand. It’s a little pricier than sand, but as it’s made up of 85–90% quartz and crystalline silica, it has incredible binding power.
Pour some water on this stuff and the polymers come to life and give one another a great big hug, creating an incredibly stiff bond that holds your pavers in place come rain or shine. You won’t have to constantly top it up as you would with regular sand, which will save you a lot of time, money, and effort in the long run.
Another benefit is that polymeric sand is tough enough to keep weeds at bay, whereas regular sand is basically an invitation for them to come and join your party.
How To Apply Polymeric Sand
Being that polymeric sand forms such strong bonds when moistened, there are a few things to consider before you use it.
- Wait for a dry day — If there is any rain forecast, you won’t be able to start sweeping polymeric sand.
- Pavers must be dry — If your pavers are wet, the sand will harden as soon as it touches their surface. You need it to stay dry until it’s all swept into place.
- Stable temperature is essential — For the best results, you need 12 hours of roughly 50 °F.
Polymeric Sand Application
- Use a fine mist — You don’t want water to pool anywhere during application, so use the fine mist on your garden hose. Wet your sand once, wait for 20 minutes, then wet it again. Repeat this once more, then leave your sand to cure.
- Provide shelter if it rains — Just in case you’re hit with some unexpected rain, you’ll need to provide your sand complete shelter for the first 12 hours of the curing process.
- Leave it for 48 hours — Once 48 hours have passed, your project is finished.
Step 2: Sealant
As a cooking space, there’s bound to be a lot of grease spitting here, there and everywhere, which can stain your pavers, no matter the color of stone you went for. However, when treated with a sealant, spills can be washed away with ease.
But it’s not just grease and food that sealant protects against. It will also keep moss, algae, grime, and rust at bay, so it’s an essential bit of prep before you start construction in earnest.
As for what sealer you should use, I’d recommend Dominator Sealer, but any quality product from a reputable brand will suffice.
How To Apply Sealant
- Clear the area of any dust, grime, sand, or other particulate matter.
- Apply sealant as per manufacturer’s instructions.
Final Thoughts
With these steps taken care of, you can move on with your project with confidence — Woo! It’s a good idea to top up your sealant once in a blue moon, but other than that, this stage of your outdoor kitchen is complete, and you’ll be chowing down on your first al fresco snack before you know it!


