Picture this, it’s summertime, the sun shines down on your garden and the heat is noticeable but not unbearable. There’s a gentle breeze that keeps you cool. You think It’s perfect weather for a nice meal outside.
So, you gather your friends and family around. Everyone is chilled out, basking in the sun, and having a great time.
But where are you? Cooped up, inside, cooking for everyone else. You’re missing out on those tanning rays, and you’re missing out on the laughs that you can hear from inside the isolated kitchen.
When you pop your head back out, the jokes are over, and they’ve moved on to something else. You just wanted some family time, but you’re missing out on all the fun while you cook.
Well, not anymore. Not when you install an outdoor kitchen. This is the perfect solution, and it’s actually pretty easy to do. It requires very little knowledge, and only a little technical skill. And in this article, I’m going to guide you through each and every step of building your very own outdoor kitchen with pavers.
Step-By-Step Guide To Building An Outdoor Kitchen
1. Plan, Plan, Plan
You may have decided in the spur of the moment that an outdoor kitchen is something that you want. No, need. But bringing that plan into actual fruition will require some planning time.
The first thing you need to consider is the location. Where is your outdoor kitchen going to live in your garden? You want to decide where this is going and keep in mind where you’ll want your dining area to go too. Once you’ve settled on a relative idea, you’ll want to mark the area with either tape or chalk.
Then you need to plan the layout of the kitchen. Where are you keeping each item of furniture? Where will each appliance go? You will want to dedicate particular areas of the kitchen for specific purposes to ensure that you have enough room for everything.
Don’t forget about storage space either. Once this is all pretty much ironed out, you can attach pavers blocks to the frame.
No kitchen is complete without a sink either, so don’t forget about it. I’d suggest cutting a piece of foam insulation to ensure the sink void is accurate too.
2. Frame Your Kitchen
You want to frame your kitchen to make sure that you are leaving spaces where spaces need to be. You’re essentially going to create the building blocks for your kitchen and find any faults with the build before its permanent. You’re trying to avoid movement issues or cramped spaces that might cause you trouble once built.
First, you’ll need 2×4 pieces of wood that are as tall as your desired counter height. These will be the corner posts for your wooden boxes. Then you’ll need to take away the metal post standoff height along with the countertop thickness to get your precise measurements.
Once they’re the correct height you can screw them together using a drill and two and a ½” deck screws. You want a two and a ½” high and a one and a ½” deep notch at the bottom of each part.
Then create four 2×4 pieces that are as deep as the box and line them up and screw them together at the bottom and the top to ensure they are connected. Then you’ll cut an additional four 2×4 pieces that are the width of the box. And then finally, you’ll need a 2×4 piece at the center of the frame to help offer some support.
3. Install The Paver Bricks
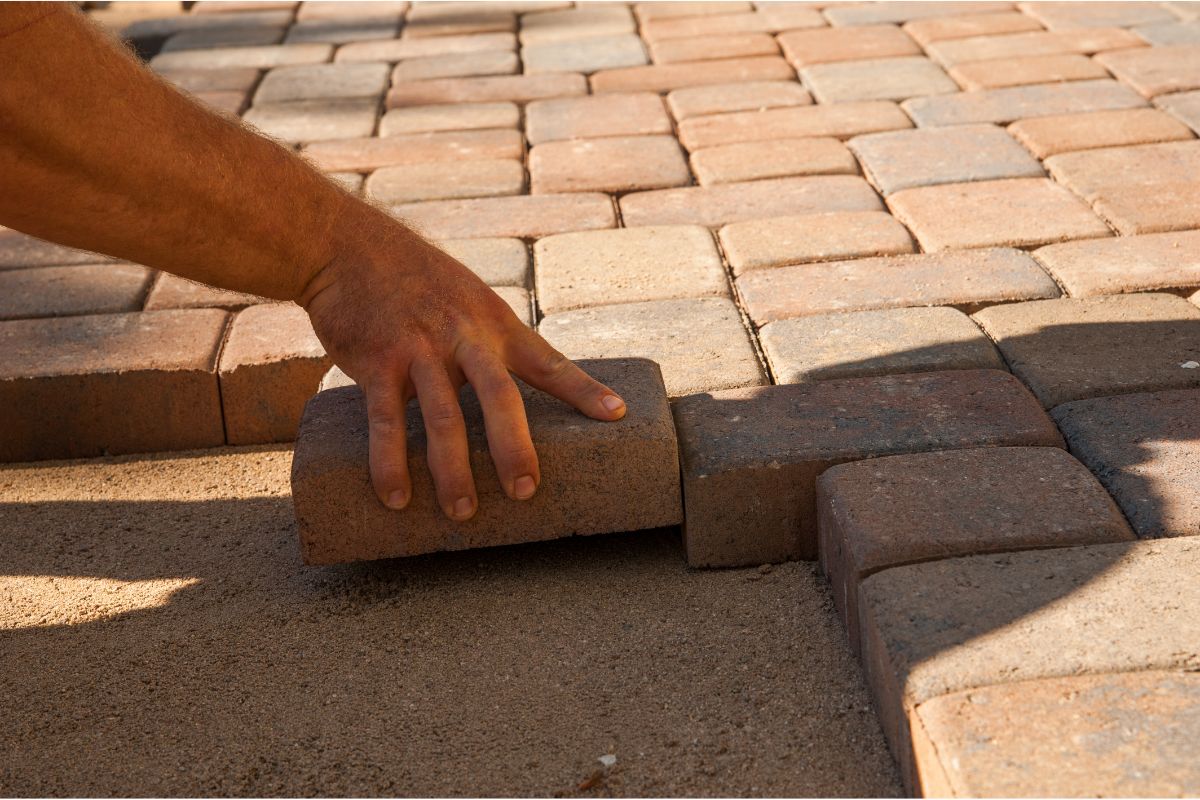
So, the first problem you’ll encounter is that the bricklayer will be slopped. This is done to protect your patio from excess water damage when it rains. These bottom stones will need to be leveled out by applying mortar for the bottom framing.
You’ll want to begin with the cornerstones, and use a long level to make sure that the stone tops are all in line. Once the mortar has hardened you can repeat the step again on any bottom stones until you reach your preferred height.
Once you’ve spread the layer of mortar underneath each block you can start laying each piece into its position and then let it dry. Each layer must be completely dry before you can begin the next one, so you’ll need to be patient.
You’ll also want to make sure that you are smoothing out the mortar in the joints using the correct tools to keep a stable and aesthetically pleasing kitchen.
4. Countertop Time
Once you’ve built your kitchen this far, it’s time for the countertop. Which material you choose here is really up to you, but you want to ensure that it is durable and can withstand the elements. Remember it is an outdoor kitchen. Personally, I think concrete block is the way to go, but as I say the choice is yours.
The advantage of an outdoor kitchen is that you can choose your countertop space and where you want it to go. Once you apply the countertop, you’ll need to level it to ensure it’s the right height. You can use shims to adjust it as you need to. You’ll also need a construction adhesive to keep it secure and in place.
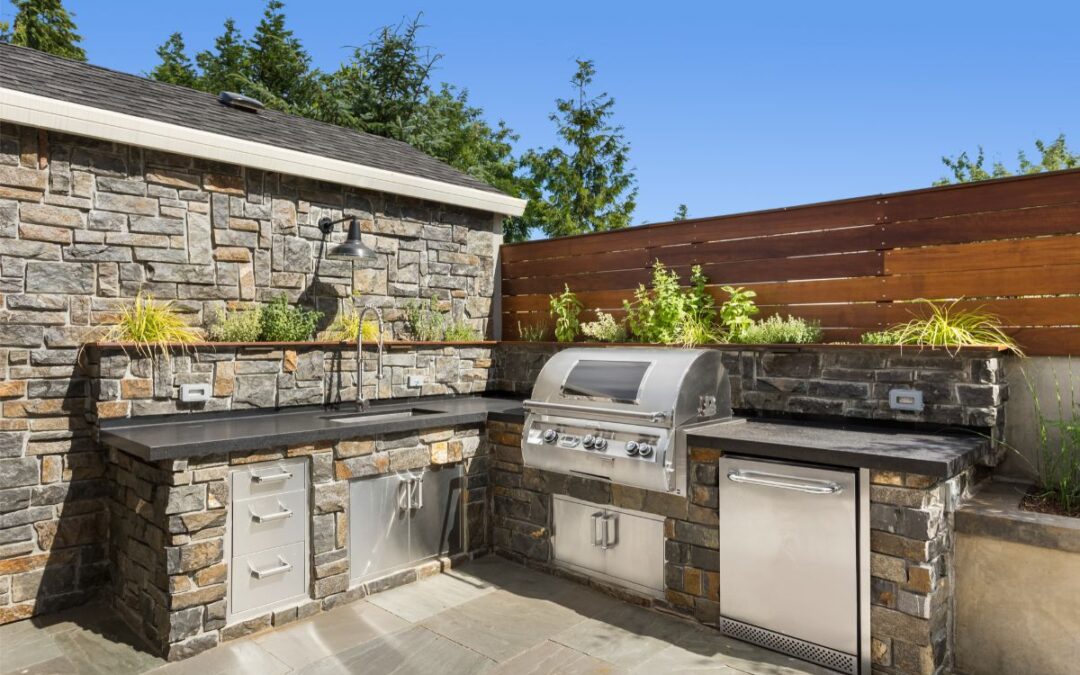
5. Place Your Appliances
Now, all that’s left to do is pop your appliances into their designated spaces. Grab your grill, your sink, your cups, plates, and cutlery, and set up your outdoor kitchen in the way your heart desires. And just like that, you’ll be ready to get cooking outside.
Final Thoughts
The idea of having an outdoor kitchen can seem like a daunting task, but it’s not impossible. You’ll need to seriously consider where you want things and how you’ll want them to go, but actually creating it really isn’t all that difficult. So what are you waiting for? Getting planning today!
There will be no more missing out on the fun activities outdoors while you’re stuck slaving away in the kitchen inside!